Purpose
This article explains how to add a Nano-controller in SMARTLINK using mobile application and how to provision it.
Adding a new machine to an existing site
Select the site scope where you want to add the machine (Although selecting a scope
can be done but is not a requirement to do so. The user will be guided in selecting the
correct site in the add flow itself as well). Go to Dashboard and click on Actions.
Click on “Add asset” to add machine to your site.
or
Can also be done by the + button on the top right corner in the assets tab.


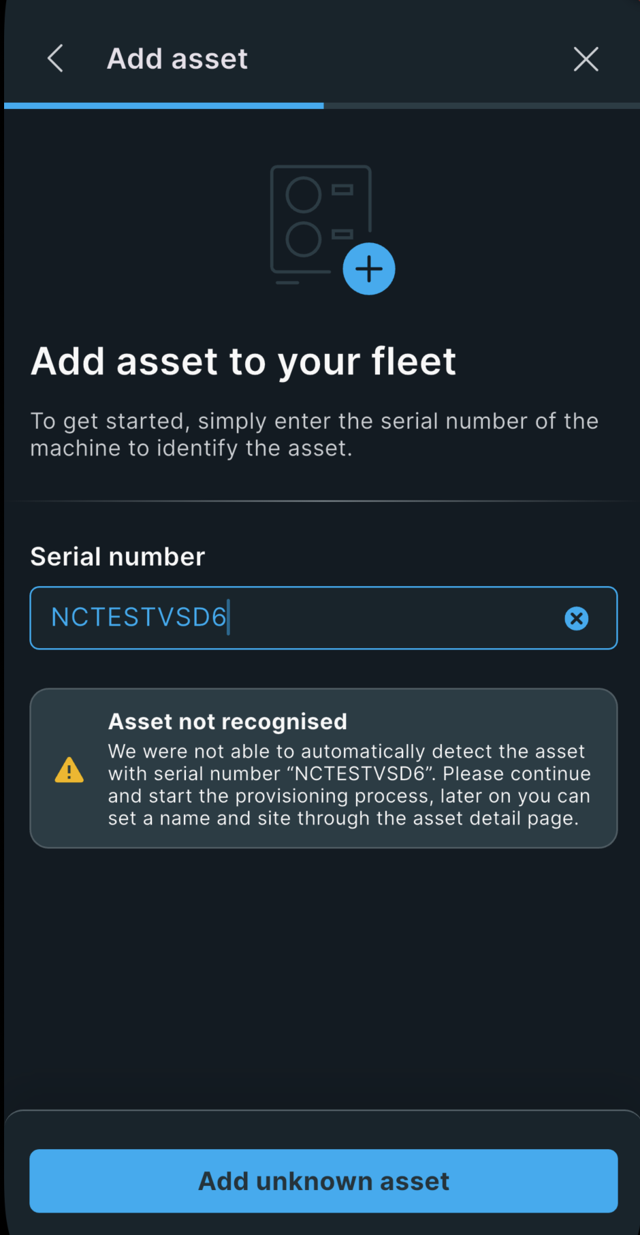
- Type the serial number of your machine.
- Click on "Continue."
Troubleshooting:
Issue: Error message "This serial number is not valid for registration."
Solution:
1. Machine is already assigned to a site.
2. Machine is not in COPS and not in any DATABASE. When we have a nano-controller in service connect but not in COPS, the user will be able to get through but will not be allowed to skip network setup.

When the machine is only known in service connect, the user will get a warning on that as shown below.
When the user continues, the user will be guided to the provision flow first. So, the machine name and site selection will not be the next step following this. The user will get this view only after successful provision.
Select the site scope where you want to add the machine (Although selecting a scope
can be done but is not a requirement to do so. The user will be guided in selecting the
correct site in the add flow itself as well). Go to Dashboard and click on Actions.
Click on “Add asset” to add machine to your site.
or
Can also be done by the + button on the top right corner in the assets tab.
- Type the serial number of your machine.
- Click on "Continue."
Troubleshooting:
Issue: Error message "This serial number is not valid for registration."
Solution:
1. Machine is already assigned to a site.
2. Machine is not in COPS and not in any DATABASE. When we have a nano-controller in service connect but not in COPS, the user will be able to get through but will not be allowed to skip network setup.
When the machine is only known in service connect, the user will get a warning on that as shown below.
When the user continues, the user will be guided to the provision flow first. So, the machine name and site selection will not be the next step following this. The user will get this view only after successful provision.
Select Machine site [1]
Insert Machine name [2]
Click on “Continue setup” [3]
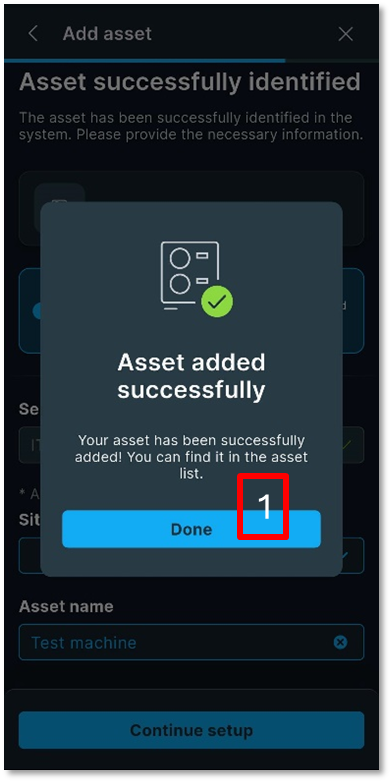
Click on “Done” [1].
” When the machine is available in COPS or the Smartlink Database, the machine will now be listed in the overview of assets for the user. When the machine is only known in Service Connect, the machine will not be linked for the user yet.
This step only concludes the registration of the machine to the account. For the machine to be fully operational, it still needs to be provisioned.
Provisioning a machine pairs the machine with Smartlink Cloud, as well as the process finalises the setup of the machine, so it can be operated over Bluetooth.”To do so, Provisioning is needed.
After provisioning, the controller MAC-address will be univocally associated to a machine serial number. Bluetooth pairing will be consequently available.
In the Provision asset, click on “Start provisioning” [1]
Provisioning will require Bluetooth, but internet will be optional BUT ONLY if the machine is known and correctly listed in COPS.
To pair successfully to the controller, APP authorizations must be allowed:
· Allow Bluetooth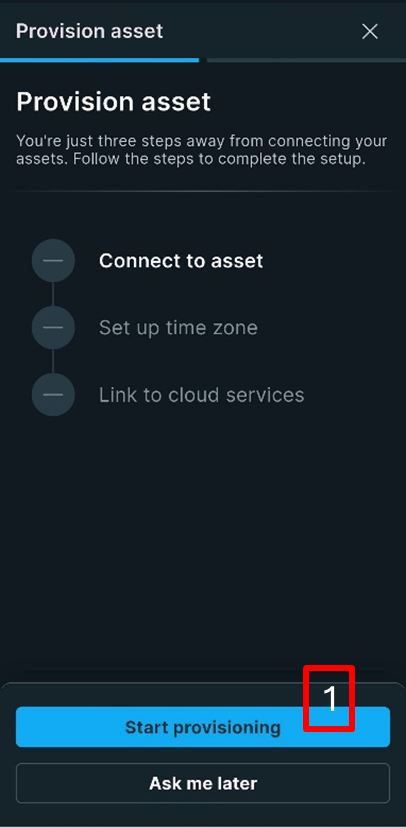
Click on “Confirm & continue” [1]
If you click on “I will do this later”, you can launch provisioning later from Machine overview.

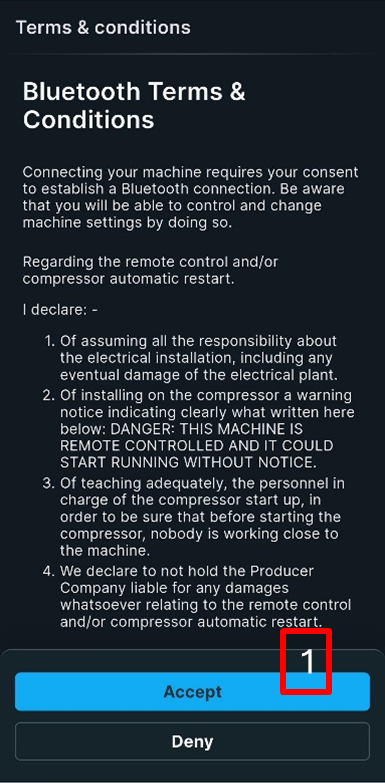
Read and accept Bluetooth Terms & Conditions [1].
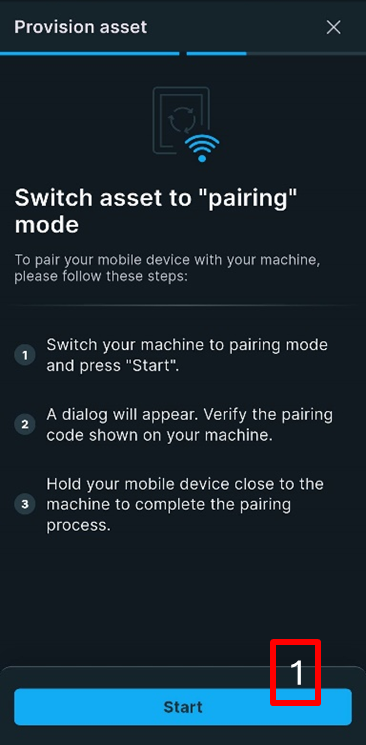
- To pair the controller to the phone, start Bluetooth pairing through the controller screen.


Click on “Start” [1].
Accept pairing request [1].
Troubleshooting:
Issue: Bluetooth scanning fails without finding the controller.
Solution:
· Check app authorizations (see above).
· Pairing mode not activated in the controller.
· Bluetooth connection error: A user won’t get an instant error on connection but will
get an error that we could not connect to the device. If the device is in pairing mode,
in the proximity of the mobile device, and it still does not work then the user
should indeed check their Bluetooth settings and “Forget device' in case the device
is known and listed in the Bluetooth settings.
Check correspondence between passkey displayed on the controller screen and on the app and accept pairing request [1].

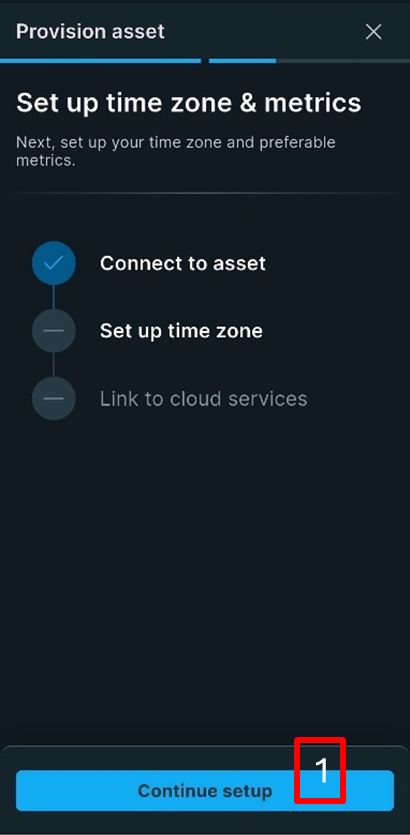
Now you are paired to the controller via Bluetooth. Click on “Continue setup” to move to next step and set up time zone and unit of measurement [1].
Search and select the time zone [1]
Click on “Continue” [2].
 Check settings and click on “Continue setup” [1].
The last step is providing internet connection to the controller.
If the machine is known in COPS, the user will get the option to skip the network setup and then it is not required to have the machine operational in Smartlink. When the machine is only known in Service Connect, the user is forced to link the machine to cloud services.
For Service Connect known machines the cloud services must be setup to finalise setup by capturing the missing data which in the default flow is available in COPS. If the machine is not in COPS, Smartlink cloud is required to fetch those details from the machine itself.Click on “Connect” [1].
Tip: Network Connection is advised.

Choose connection type [1]
Click on “Select” [2]

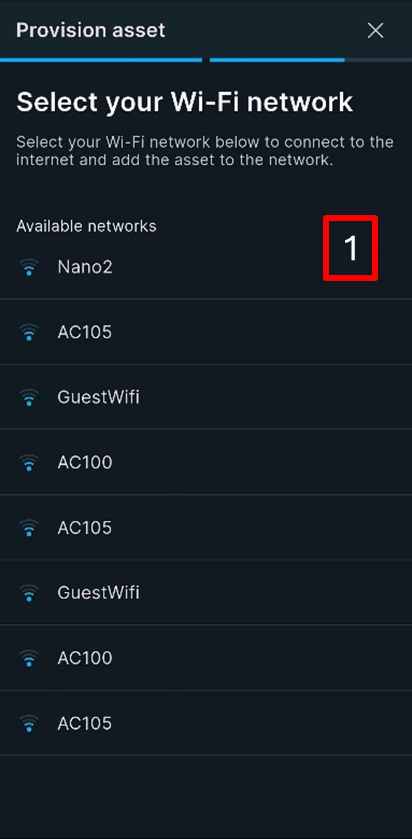
Choose the Wi-Fi network [1]
Troubleshooting:
Issue: the desired Wi-Fi network is not displayed
in the list.
Solution:
· Nano controller only supports 2.4GHz
networks. 5GHz networks are not supported.
· Network signal is too low.
Note: Only the 8 most strong Wi-Fi networks in the proximity are shown.
Type the Wi-Fi password [1]
Click on “Confirm password” [2]
When connection is established, the Wi-Fi icon will be fixed, and the Cloud icon will light up:

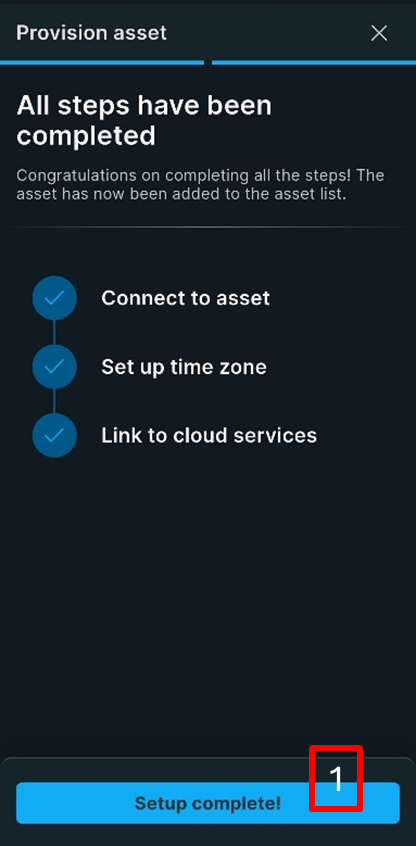
NCs known in SAP, will likely be provisioned and connected instantly. Nano-controllers only known in Service Connect will not be provisioned instantly. The serial number of the machine will be linked to the nano-controller instantly, but the nano-controller itself will first need to connect to the cloud, and communicate all needed information to be stored in the Smartlink Database before the success message pops up for the user. This can display a loader on the screen until the machine has a valid connection, and all info is stored in Smartlink Cloud.
Click on “Setup complete!” to finish [1].
Click on “Got it!” to finish [1].
You will be redirected to the list of assets, where you will find the machine, you have just provisioned.
